If you want to make the application multilingual, you can define the language list you want to support under the properties of the knowledge base.
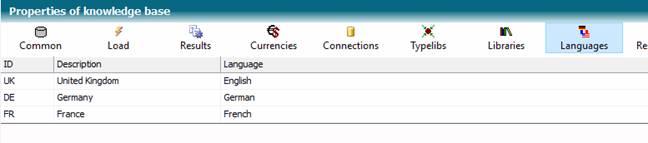
You can determine the ID and name that defines the language. You determine the language from the drop-down list. The language is a necessary indication for the supported translation tool.
For example, the dialog language for our application can be set via a main menu of the main window.
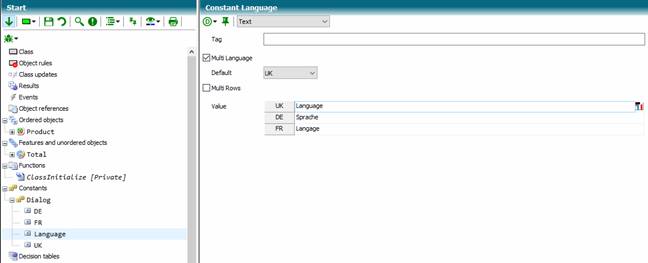
First, consider storing multilingual text constants for your dialogs.
A constant group with the name Dialog is recommended.
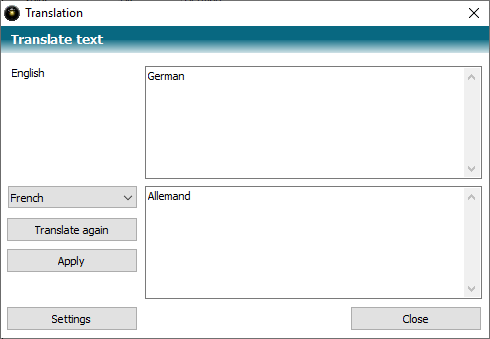
You can set up the Microsoft Azure Translation Service to support translations. For simple terms, this has become a reliable translation method (see Managing).
For multilingual constants, it makes sense to set a default language of text constants. This default language is used when a translation into the dialog language is not yet available.
Now create a menu in the Start class, for example, with the name MainMenu.
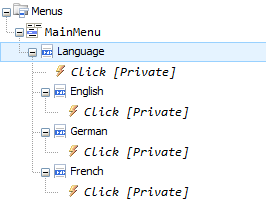
The menu items have the following appearance (here the entry for English):
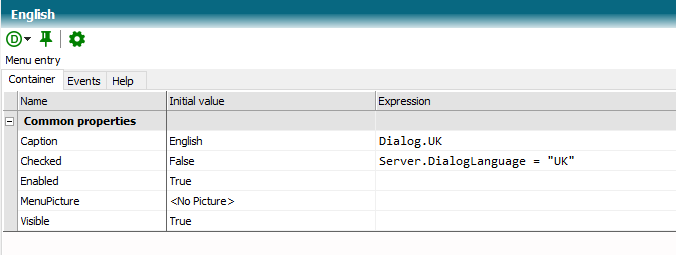
When the user clicks on a menu item, the Click Event of the menu item is executed:

Now monolingual values must be replaced with expressions with multilingual text constants at all relevant places.
1. Example – Multilingual features
Features can be labelled with a multilingual description, here as an example the feature [Country version].
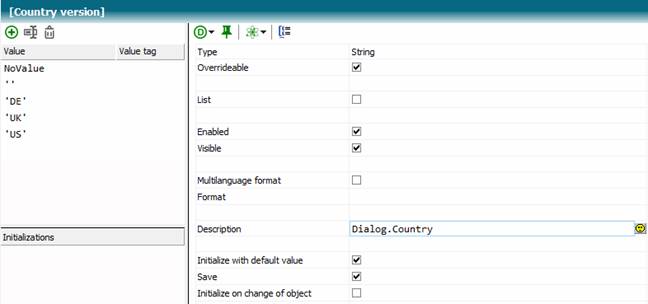
You can now change the properties of a Combobox (or other controls) to use the variable’s description expression, instead of the Caption property.

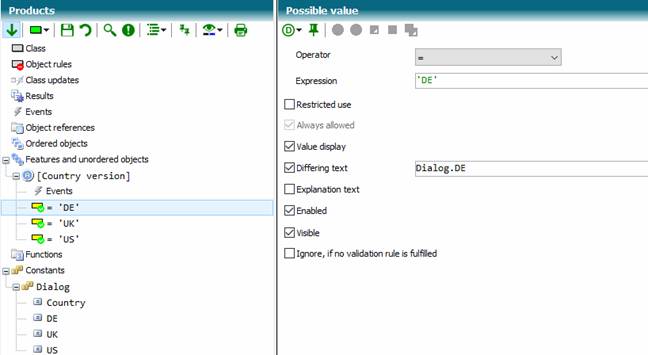
2. Example - Multilingualism for possible values of features
For each possible value of a feature, the differing text should be defined:
3. Example – Multilingualism of classes
To label classes with a multilingual description, turn on the Translation Relevant switch at the class properties.

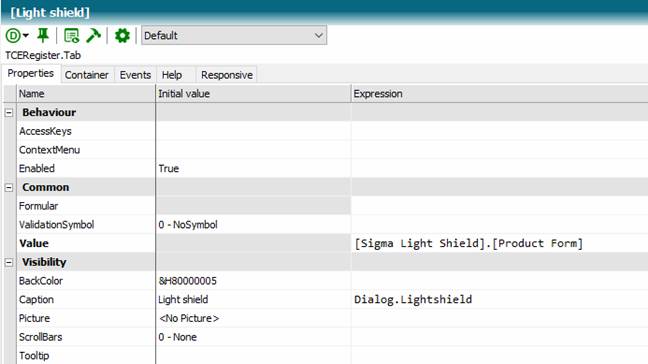
4. Example – Multilingual texts in controls
Enter an expression for example to set the caption.
 Contents
 Index
Index Previous
 Next
Next